Create a poll in Microsoft Outlook email by using Email Voting buttons in an email message. For responses to the poll,it can automatically tabulate the results of the vote in Outlook or export the responses to an Excel worksheet.
- Create an Outlook message
- Type your question into the body of the email.
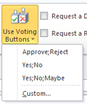
- Choose options from the tab and expand the Email Voting Button drop down.

- Choose Accept/Reject; Yes/No; Yes/No/Maybe
- Approve;Reject
Use when you need an authorization for an action. For example, you can send an email request to several recipients seeking their approval of a project proposal. - Yes;No
Use when you need either a yes or a no. This is a good way to take a quick poll. - Yes;No;Maybe
Use when you don’t want to limit the choices to yes and no. This voting option offers an alternative response. - Custom
Use to create your own custom voting button names. For example, you can ask your colleagues to choose among three days of the week for a recurring weekly staff meeting.
- Approve;Reject
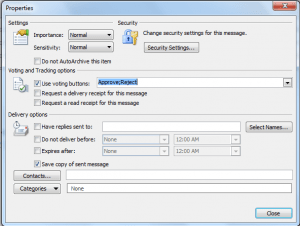
- Create Custom Voting button- Click on Custom
- In the Properties Dialog box, delete the pre-populated choices under Voting and Tracking options and enter your choices separated by a semi-colon.
![]()
Click Close.
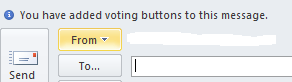
4. When you add voting buttons to an email message, you will not see actual buttons added. You will see:
How Recipients Respond
Recipients can access the voting functionality in 2 ways:
- From the Reading Pane, recipients can click to vote.
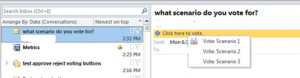
2. From the email, recipients can expand the Vote drop down menu to choose:
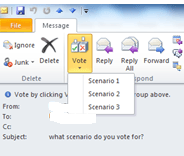
How to Track Voting Responses
The sender will receive an email that voting has occurred with the recipient’s vote as the subject line. To view poll responses, click on ‘The sender responded: Yes/No/Custom’ and click on View Voting Responses to open the Voting Tracker.

![]()
Outlook Account: Click Here Blog: Click Here