JIRA Automation can help reduce manual tasks and increase efficiency. In this blog, we’ll explore how JIRA automation can be used to streamline workflows, automate repetitive tasks, and improve productivity. JIRA automation is a feature-rich tool that can be used to automate a wide range of tasks. From simple tasks such as sending notifications to more complex tasks like creating new issues, JIRA automation can do it all. By leveraging the power of JIRA automation, teams can significantly reduce manual tasks and focus on higher-value work.
Here are a few examples of how JIRA automation can be used to reduce manual tasks and increase efficiency:
- Issue Assignment: Automatically assign issues to a specific team member based on certain criteria such as issue type, priority, or component.
- Status Transitions: Automatically transition issues from one status to another based on certain conditions such as time elapsed, specific field values, or specific actions.
- Custom Notifications: Automatically notify specific users or groups when an issue is created, updated, or transitioned to a specific status.
- Time Tracking: Automatically track time spent on an issue and log it in the work log or time tracking system.
- Sub-task Creation: Automatically create sub-tasks for an issue when certain criteria are met, such as issue type, priority, or component.
- Field Updates: Automatically update fields based on specific conditions, such as setting a due date when an issue is assigned to a specific user.
- Workflow Triggers: Automatically trigger certain workflows or actions based on specific criteria, such as creating an issue when a specific keyword is found in an email.
- Issue Linking: Automatically link issues to each other based on specific criteria, such as when one issue is a dependency of another.
- Labeling: Automatically label issues based on specific criteria, such as issue type or priority.
- Report Generation: Automatically generate reports based on specific criteria, such as time tracking data or issue status.
Steps for JIRA Automation of tasks
- Identify the task or workflow you want to automate. This could be anything from creating a new issue to closing an issue when certain criteria are met.
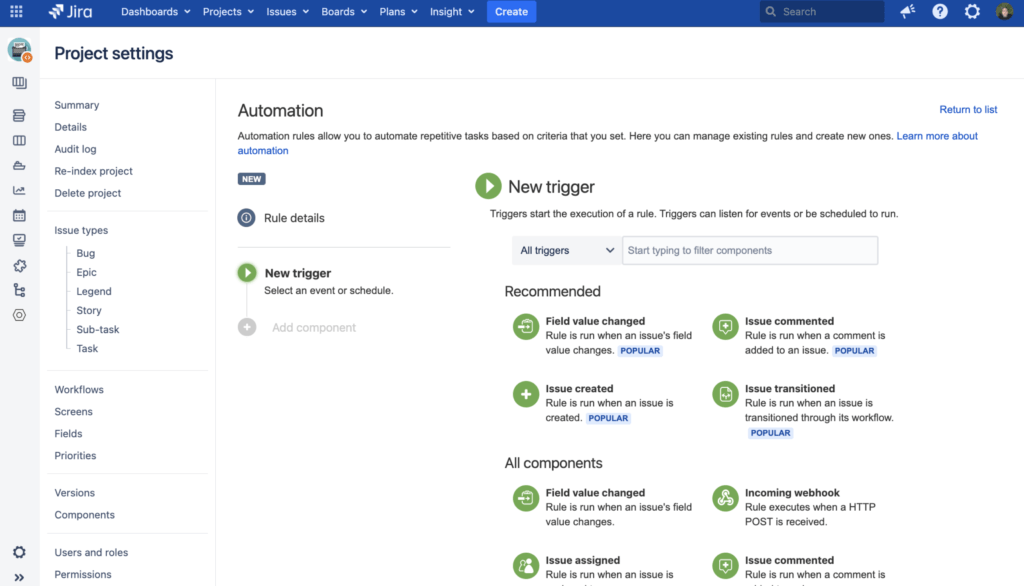
- Create a rule in JIRA Automation. Go to the JIRA Automation menu and select “Create Rule”. Give your rule a name and select the event that triggers the rule. You can choose from a variety of events, such as issue created, issue updated, or comment added.
- Add the necessary conditions. The conditions determine when the rule will be executed. For example, you can specify that the rule should only be executed if a certain field is set to a specific value.
- Define the actions. The actions determine what JIRA should do when the rule is executed. For example, you can set a field value, send an email notification, or transition the issue to a different status.
- Test the rule. Once you’ve created the rule, test it to make sure it’s working as expected. You can do this by creating a test issue and triggering the event that should execute the rule.
- Monitor the rule. Keep an eye on the rule to make sure it’s running correctly. You can view the rule’s history and see when it was last executed.
- Refine the rule. As you use the rule, you may find that it needs to be refined or adjusted. You can edit the rule at any time to make changes to the conditions or actions.
Summary
In conclusion, JIRA automation is a powerful tool that can help reduce manual tasks and increase efficiency. By automating notifications and alerts, issue creation, issue transitions, issue assignments, and custom workflows, teams can focus on higher-value work and improve productivity. If you’re not already using JIRA automation, it’s worth exploring how it can benefit your team and organization.
Recommended Reading
- JIRA Dashboard – Popular Gadgets for Agile Teams
- Maximizing productivity with JIRA – Tips and Tricks
- JIRA Backlog Refinement – Tips and Tricks
- JIRA Reports use in tracking Agile Projects
- JIRA Structure – Create & Manage Epics and Stories
- JQL functions – Advanced searching in JIRA
- Scrum Board – Tips and Tricks for JIRA
- JQL functions – Advanced searching in JIRA