Create a New Sprint – In JIRA, a Sprint is a defined time period in which a Scrum team commits to delivering a set of product backlog items. Sprints are used to organize and track the work of the development team, and to measure progress toward achieving the project’s goals.
Create a New Sprint and Manage it in JIRA
- Open JIRA and navigate to the desired project.
- Click on the “Agile Board” tab and select the appropriate board.
- Click on the “Active Sprints” section and click the “Create Sprint” button.
- Enter a name and goal for the new sprint, and set the sprint dates.
- Add the relevant issues to the new sprint by dragging and dropping them from the backlog section to the new sprint section.
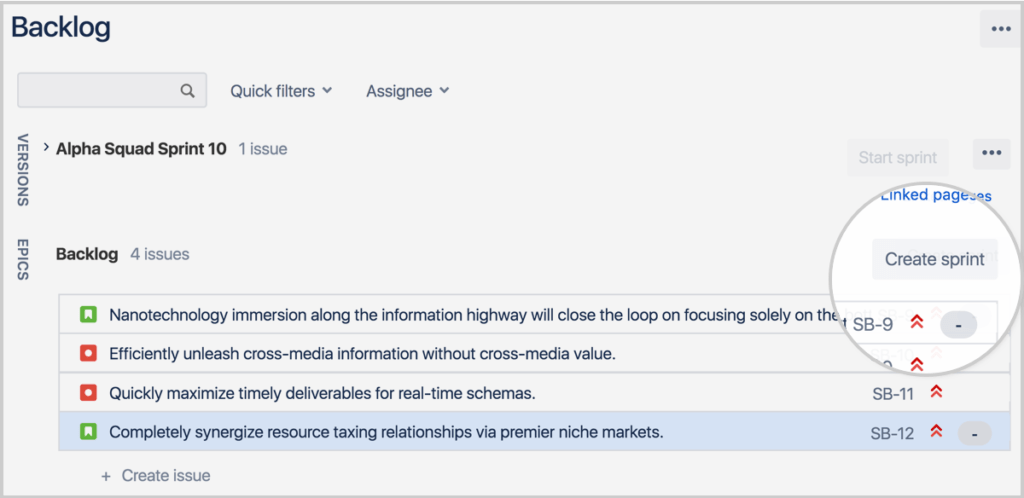
- Click on the Backlog on the left-hand side of your Scrum project, and you will find a button at the top that reads Create Sprint.
- Click on the Create sprint button appearing in the right corner. It is important to remember that you can generate many sprints at once. I will recommend creating between 7-10 sprints.
Add/Remove items from your Backlog to the Sprint – The above step will create the sprint, and you can start adding work from your backlog. If you want to remove issues from the sprint then do the opposite operations.
- Just drag and drop individual team issues from the backlog area into your selected sprint. OR
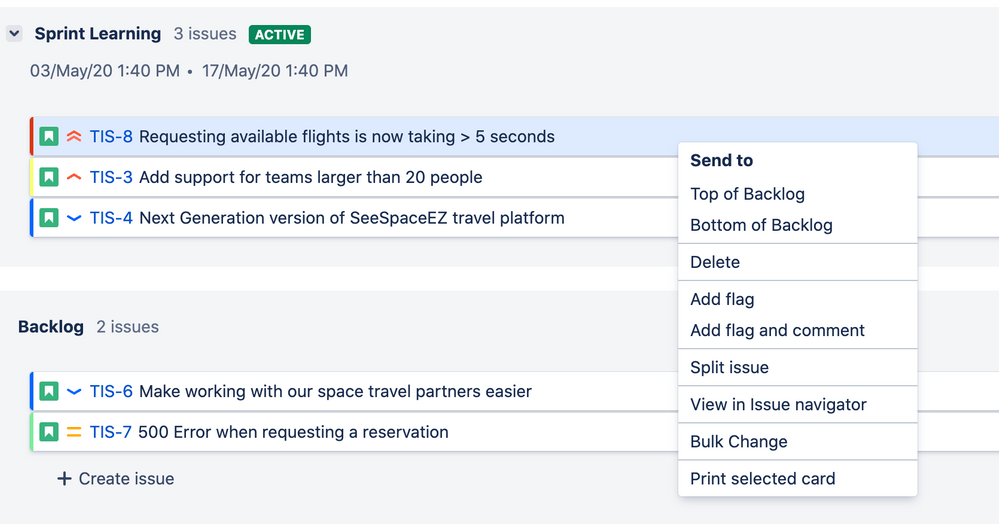
- From the Backlog list, right-click on the issue and then select the sprint in which you want to add your issue.
Start the Sprint – A new sprint can only be started when a previous one has been completed and closed. Having more than one active sprint running simultaneously in Jira is possible. So before starting a new sprint, you first need to move the tasks from the current sprint and close the current sprint. You can use the Parallels Sprints features to keep multiple sprints active but it is not recommended.
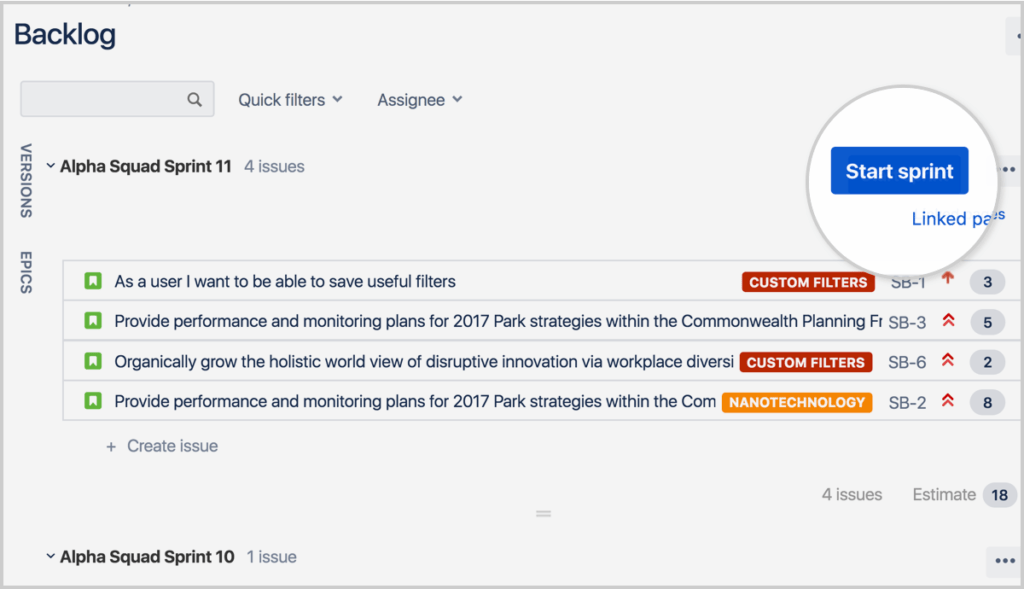
- Go to your Scrum project’s backlog.
- Select the sprint you wish to initiate and press the Start Sprint button.
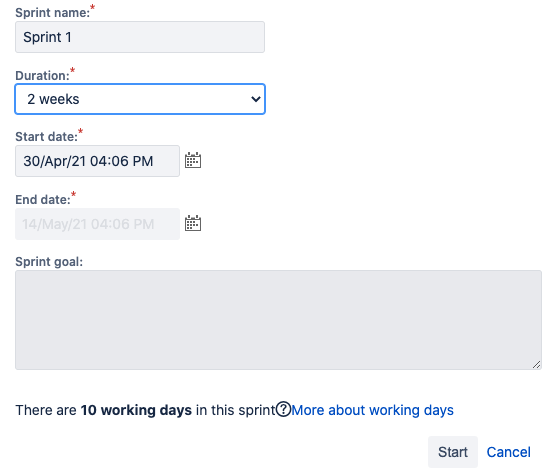
- Set the sprint’s name and, if desired, add a Sprint goal, as well as the sprint’s Start and End dates. I will recommend naming it like <Team Name>_Sprint XXX_MM/DD <Sprint Start> – MM/DD <Sprint End>. This will help you to get the sprint number and duration easily.
Close/Complete the Sprint – Go to your Scrum board’s Active sprints section. This sprint will be visible on the Scrum Board.
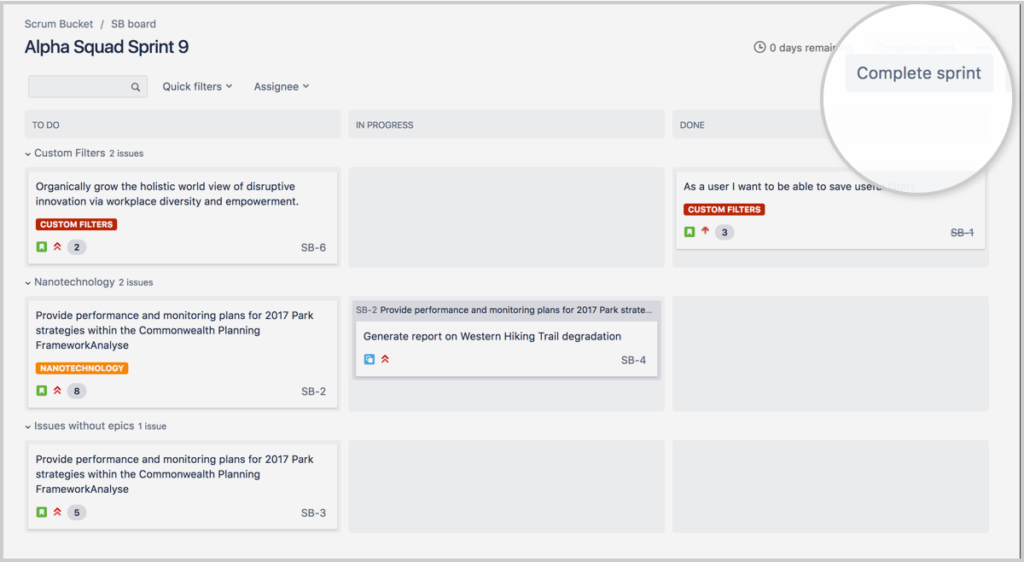
- Choose the sprint you wish to close from the sprint drop-down.
- If you have numerous sprints on your board’s Active sprints, the ‘Complete Sprint’ option will not show until you choose one of them.
- Complete the sprint by clicking the Finish button.
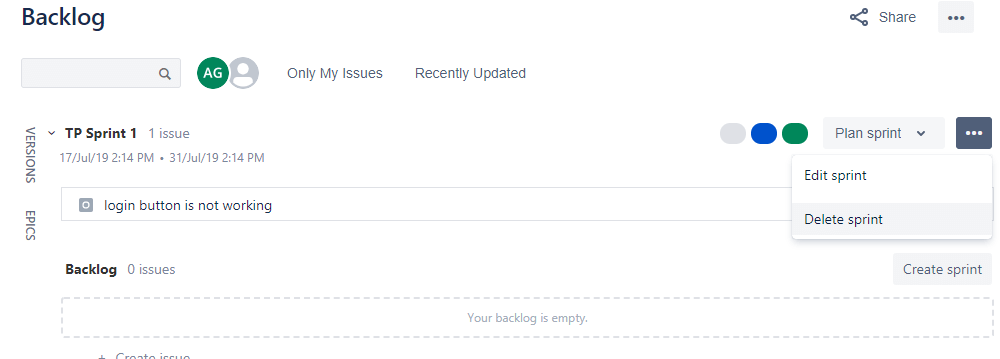
Deleting a sprint – Click on the Backlog then choose the sprint that you want to delete, and then click on the ‘…’ icon. The dropdown appears, and then select the Delete the sprint option.
Jira Reports for managing the Sprint
JIRA provides several reports for managing the Sprint, which can help Scrum teams to track their progress, identify issues, and make data-driven decisions. Here are some of the most common reports used for managing the Sprint in JIRA. For more details Click Here.
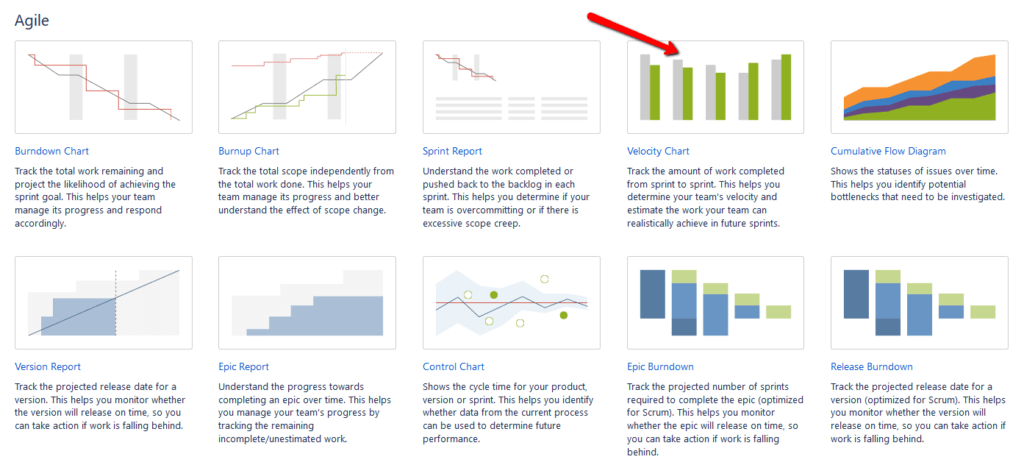
- Sprint Report: The Sprint Report summarizes the Sprint’s progress, including the number of issues completed, the number of issues still in progress, and the number of issues that were added or removed during the Sprint. The report also includes a Sprint Burndown chart, which shows how much work remains to be completed over the course of the Sprint.
- Velocity Chart: The Velocity Chart shows how much work the team is completing in each Sprint and their overall velocity over time. This can help the team to estimate how much work they can realistically accomplish in future Sprints and identify any trends or patterns in their performance.
- Cumulative Flow Diagram: The Cumulative Flow Diagram provides a visual representation of the team’s workflow, showing how many issues are in each stage of development at any given time. This can help the team to identify bottlenecks or areas of the workflow where issues tend to get stuck.
- Control Chart: The Control Chart shows the team’s progress in completing issues over time, along with upper and lower control limits. This can help the team identify when they are performing above or below expectations and take action to improve their performance.
- Burnup Chart: The Burnup Chart shows the team’s progress towards completing Sprint’s goals, including the total number of issues that need to be completed and the number of issues that have been completed. This can help the team stay focused on their goals and make data-driven decisions about allocating their resources.
Recommended Reading
- Kanban Board – Create & Customize for Kanban Team
- Scrum Board – Tips and Tricks for JIRA
- JQL functions – Advanced searching in JIRA
- JIRA Structure – Create & Manage Epics and Stories
- Bulk Jira Issue creation using CSV Template
- JIRA Reports use in tracking Agile Projects
- Issue Analysis Reports use in Agile Projects
- Sprint ID for an Active or Closed Sprint
- Text Field search using advanced search in JIRA